Introduction, Milking, Gouda Cheese, Herb Cheese
Easy to make, and ready to eat the very next day!

The pictures below show how fresh cheese can made at home. Mind you, this is not a course in cheese making, just an impression. If you like this page, please link to it, do not copy without asking permission first. If you have an interesting site or blog on making cheese or (the history of) food in general, let me know and I’ll link back.
How to make fresh cheese
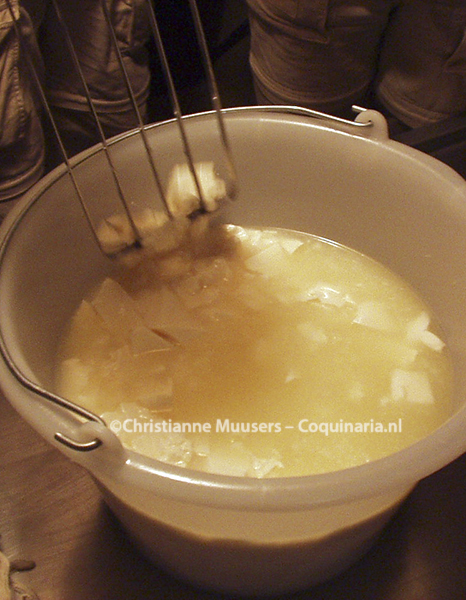
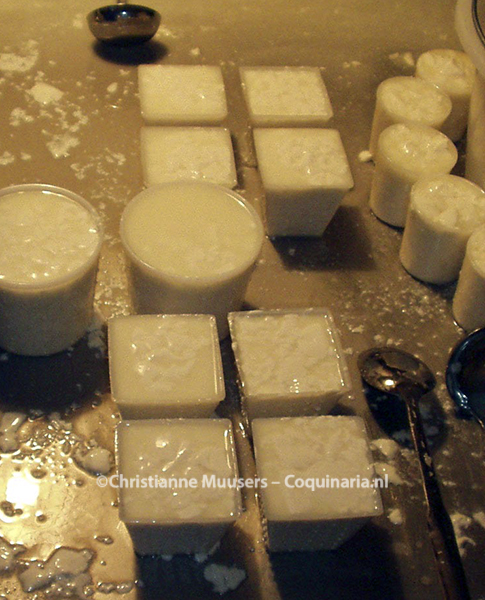
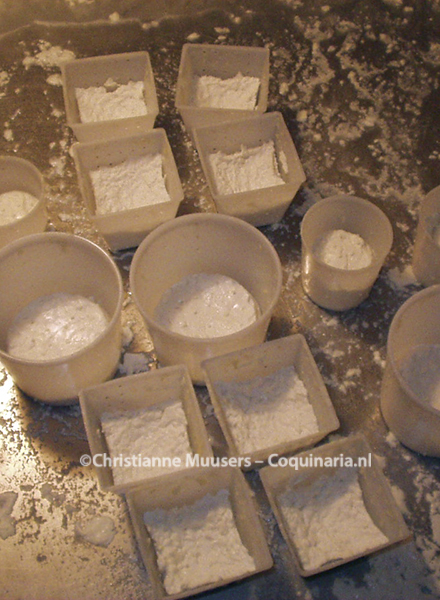
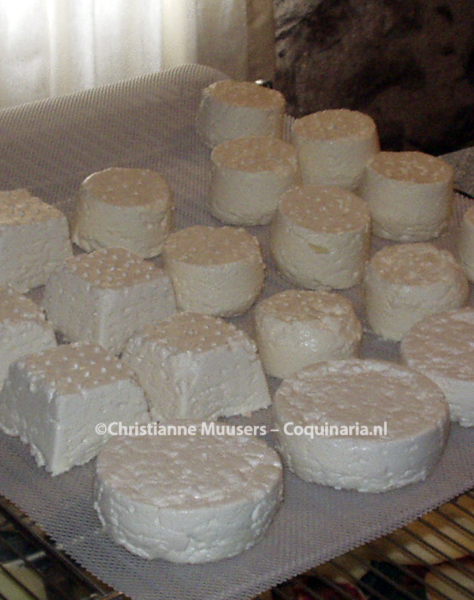
The milk is prepared by adding acid-producing bacteria and rennet. The next day de curd is cut in large chunks. With a perforated ladle the curd is taken directly out of the whey, and put in plastic forms wich are also perforated. The whey will drain from the curd, wich will settle by its own weight. The cheeseforms are filled up again with curd. This is repeated a couple of times. When all curd is used, it has to stand in the cheeseforms for one night, to drain even more whey. The next morning the young cheeses are removed carefully from the forms, and put back upside down. A short while after that the cheeses are removed from the cheese-forms and sprinkled with salt. In the evening they are turned upside down, and again sprinkled with salt. The cheeses need to be turned twice a day, but after the first day they are not sprinkled with salt anymore. After a few days the cheeses will wrinkle on the outside, and that will turn into a white mould. The surface will turn more yellow when the cheeses are older. You can eat the cheeses right after the second sprinkling with salt, or let them mature some weeks (but six weeks at the most).
Making fresh cheese – Pictures


Laatste wijziging 2 December 2019